


Beginner's Guide to Hand Embroidered Quilts
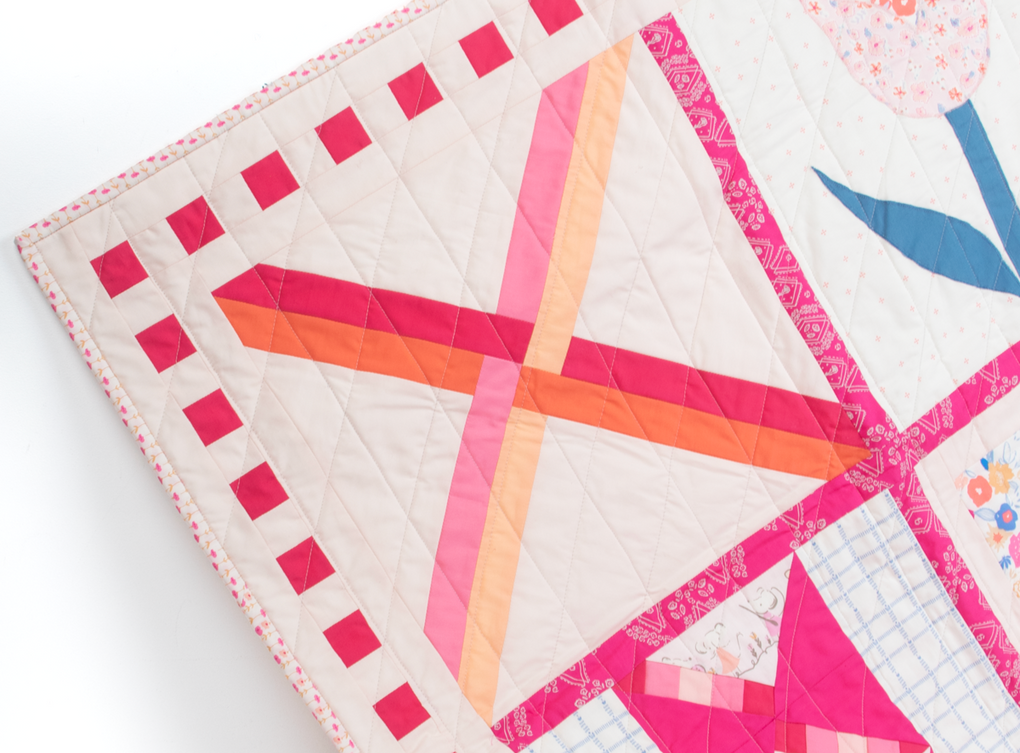
In this tutorial, we will teach you how to add hand embroidery to a quilt top. You can use embroidery to add small details to a quilt like we've done with Gloria.
We'll walk you through every step from getting your supplies together to making your first stitch! Let's get started, shall we?

Before we get started
Let's begin by gathering your supplies. You'll need a finished quilt top. You'll also need to choose an embroidery design for your quilt top. For Gloria, we used a little bow design to make the blocks look like Christmas baubles. If you are making the Gloria table runner, the bow template is included in the pattern.
Supplies You'll Need
Finished quilt top
Embroidery Floss such as DMC 6-strand cotton
Sulky Sticky Fabri-Solvy or similar printable stabilizer
or Fabric Marker if using the tracing method
Embroidery Needle
Embroidery Hoop
Thimble, optional. I don't use one because I hate how it feels, but sometimes it is necessary especially if you are stitching over seams or through multiple layers of fabric. You can then use it to push the needle if the needle doesn't want to go through.
Scissors
Transferring Your Design Onto The Quilt Top
There are two techniques you can use for transferring your design onto your quilt top. The first one, and my favourite method is to use a printable, water-soluble stabilizer such as Sulky's Sticky Fabri-Solvy.
Method 1
When using Sticky Fabri-Solvy, you print (you could probably trace it too if you don't have a printer) your design onto a sheet of Sticky Fabri-Solvy. Cut out your designs and position them on the quilt top. This is my preferred method as I don't have the patience for the second method!


Method 2
The second method of transferring your design is to trace it using a lightbox or a window (we're actually using an iPad here) and a fabric marker or fabric pen.
Begin by printing your design onto paper. Then secure your now printed design onto a window that is getting good light or your lightbox if you have one. The window method may not work on a rainy day.
Next, place the quilt top into the hoop backwards as we've done below. This just makes it easier to trace the design. If you hoop it the other way, when you go to trace, the fabric won't be resting on the design. This will make it very hard to see the design through the fabric.


Once you've hooped your quilt, you are now ready to trace your design. Place the hooped portion of the quilt top over the design and begin tracing the design onto the fabric with your water-soluble pen or pencil. With the Gloria quilt, it is necessary to ensure that the design is centred over the top of the bauble block or it will look a little wonky when done. Centre your design as needed.
When you have completed tracing your design, you are ready to begin stitching!

The Backstitch - A Classic Embroidery Stitch
Chances are, if you've done any hand-sewing or hand-embroidery or hand-quilting, you probably already know how to do a backstitch. If you are completely new to the world of hand-embroidery, fear not, it's an easy stitch and we're going to teach you how to do it!
Thread your needle with your desired amount of floss strands. We used strands of DMCs 6-strand cotton embroidery floss in black (117ua-310).
From the wrong side of the fabric insert needle at point A. Now the needle is on the right side of the fabric, insert the needle at point B and come back up at point C. For the next stitch insert the needle at A and come back up at point D.
Repeat in the same manner following the lines of your design. If you are making long stitches, you'll find that it's helpful to shorten the stitches a bit for curves and corners.


Removing the Fabri-Solvy
We did this step after quilting the quilt. I gently washed the table runner by hand because we needed a few photos of it before it looked all crinkly and washed. It still had more crinkles than a freshly quilted quilt, but it worked for us. If this is not important to you, you can just pop your quilt in the wash, though I would still recommend a gentle cycle and line-drying to preserve the hand-embroidered details.
And now you know how to add hand embroidery to a quilt top! This is such a fun way to customize your finished quilt tops or add tiny details like we've done here that would be impossible to piece!
Purchase Your Copy Of Gloria
Gloria is available in your choose of either PDF and print.

About the Author
Hello there, I'm Abigail!
I've been quilting on and off since the age of 8! I have always loved quilts and quilting. I also love teaching about quilting and helping others to get started in this wonderful craft! My non-quilting hobbies include sewing, baking, and hand embroidery. You can find me on IG @abigaildkelly where I share snippets of work and life!
Pattern Spotlight

Gloria Table Runner Quilt Pattern - pdf
$11.00